Quick Start on the use of SharePoint Migration Tool
Migrate files in Netdrive to Shared Library
- Download and install by select "Install here" under General Availability of the page
- After running the installer, SPMT will be invoked.
- Sign-in to Microsoft with your Email Address
- Click Start a new migration
- Select File Share as the source and Netdrive you want to migrate e.g. Z:
- Select SharePoint as the destination and put the URL e.g. https://gohkust.sharepoint.com/teams/XXXXX
- Use the default location Documents and click Next
- Name your migration and click Next
- Turn on Only perform scanning to scan if all the files can be migrated. Fix those errors (e.g. shorten the name, etc) before your perform the final migration.
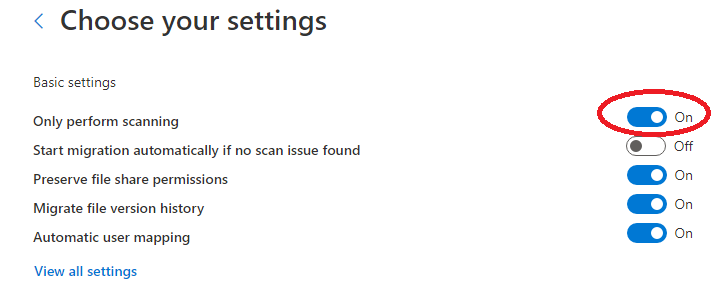
- Click Scan
- Click View reports to review if there are any errors
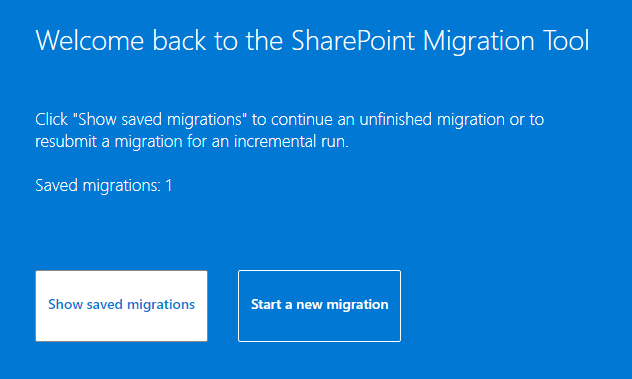
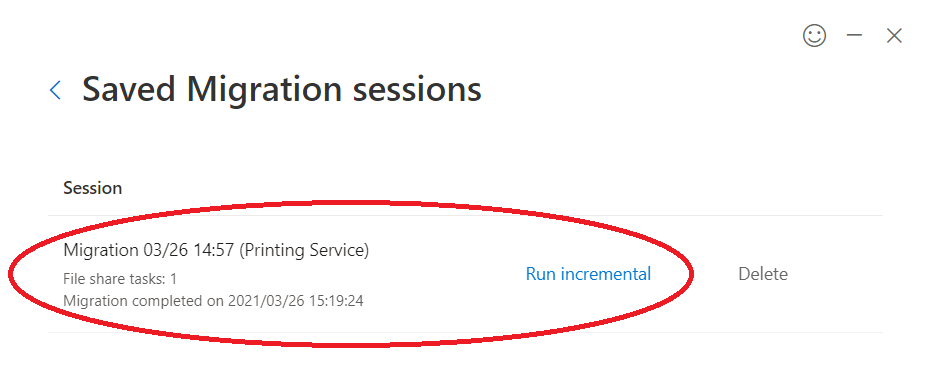
- You migration task will be saved automatically, select Show saved migrations if you want to perform the migration again.
Notes for your consideration
- You are recommended to install the SharePoint Migration Tool and then perform scanning if all the files/folders can be migrated. You may start with a small folder first to gain some experience before you migrate the whole Netdrive. Check for columns such as Folders with issues or Items with issues in the Scansummary.csv file, ItemFailureReport.csv etc (under C:\Users\xxx\AppData\Roaming\Microsoft\MigrationTool). Fix the issues with files / folders that cannot be migrated due to invalid file names, files with path exceeded the 400 characters limit, insufficient permission etc.
- It is best to change your Netdrive to Read Only access (by send email to ITSC) before you perform the final migration. Check if any errors in the migration report. Repeat the migration until all folders are migrated.
- Optional: Run incremental with your Saved Migration session again if necessary.
- Read Microsoft's document Overview of the SharePoint Migration Tool (SPMT) for more information.