Student Guide - Setting up ZOOM software for Mac
This guide is targetted for HKUST students to prepare their Apple MacOS machine for Online Teaching in Year 2021.
It will guide the user to:
- Download and Install Zoom client software on MacOS.
- Configure Zoom client with SSO (Single-Sign-On) using HKUST account.
Getting Started
- Download and Install Zoom client software
- Start the web browser and point to https://hkust.zoom.us/download to download the ZOOM Client software.
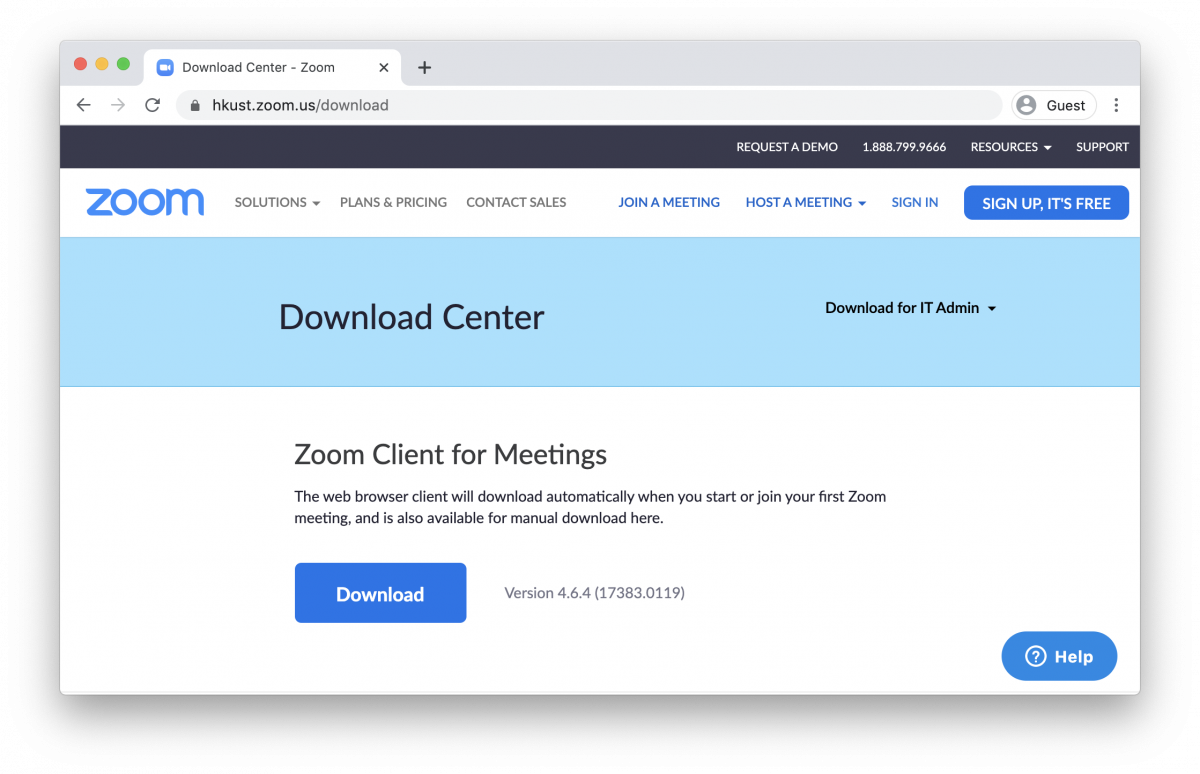
- Locate the section Zoom Client for Meetings and click Download button to Download the software.
- Start the web browser and point to https://hkust.zoom.us/download to download the ZOOM Client software.
- Configure Zoom client to login with your HKUST account
- Locate and Start the Zoom software downloaded in previous step. Normally, it should be named zoom.pkg in your Downloads folder.
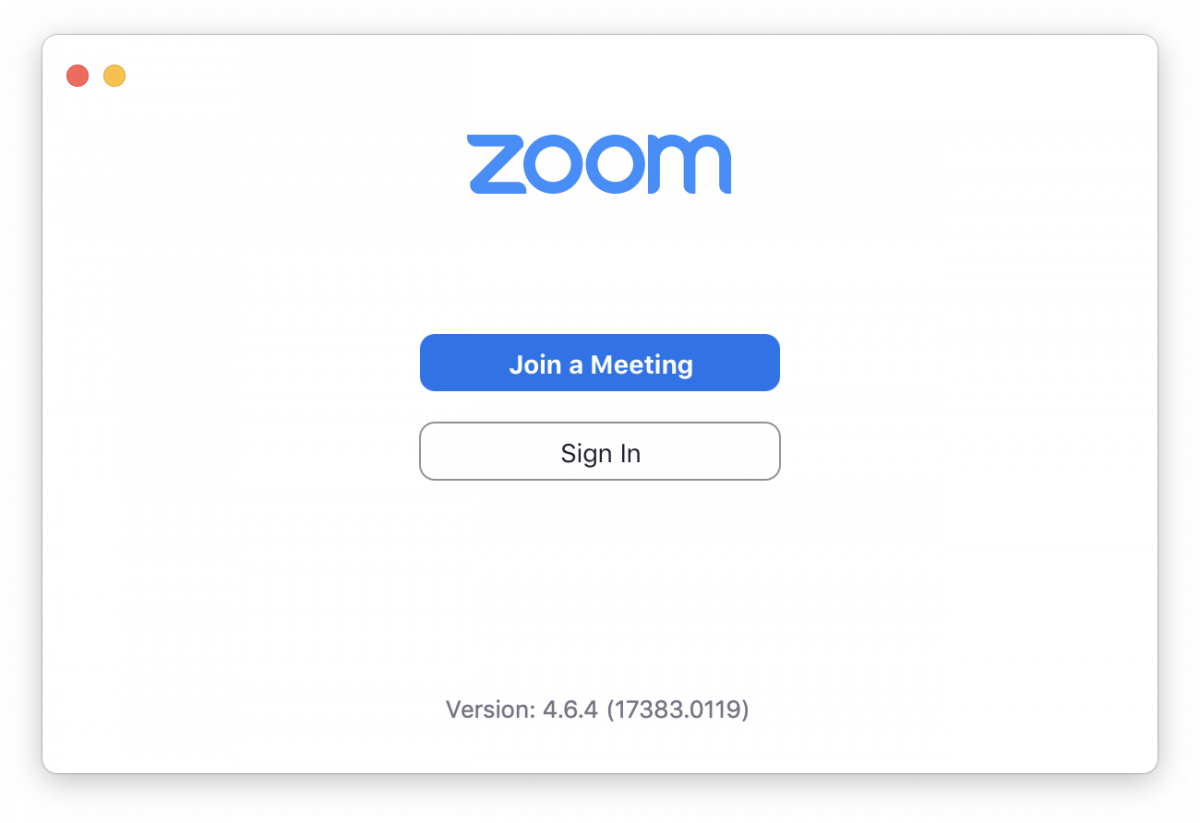
- Click Sign In and the Sign In screen will be shown as below:
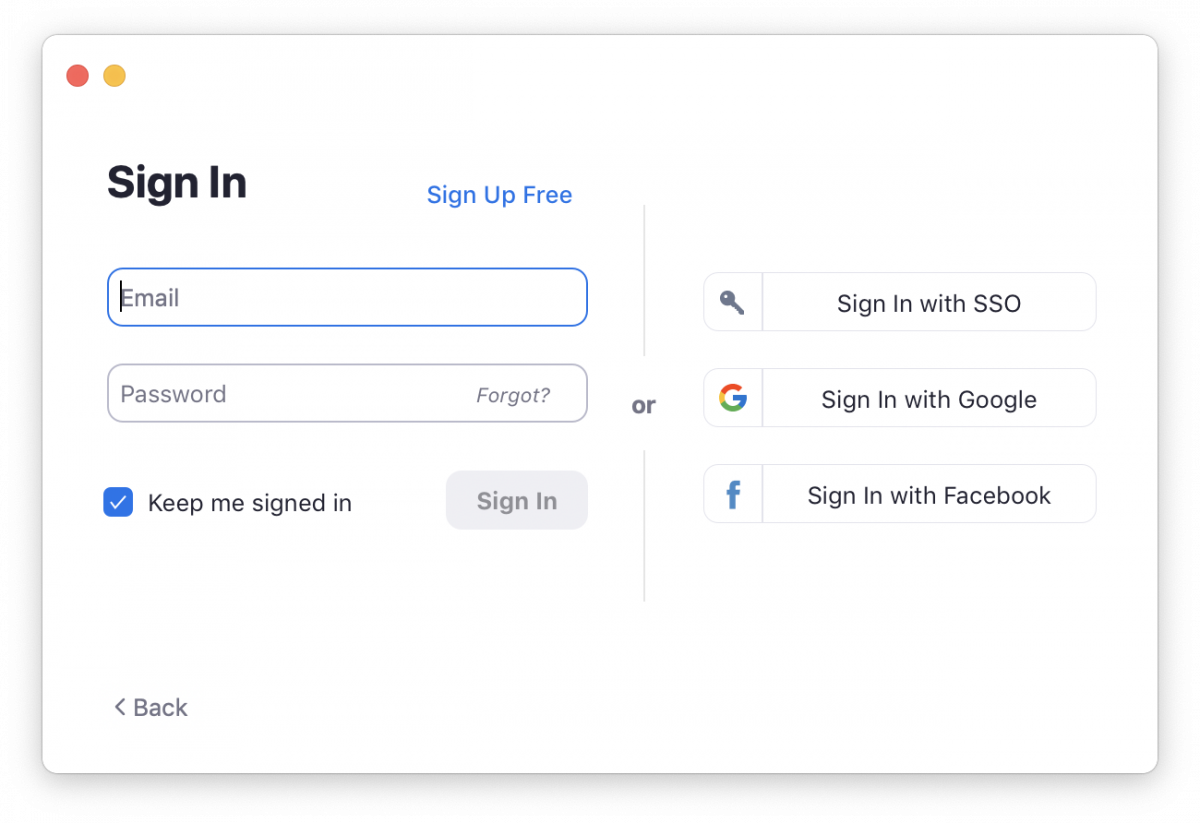
- Click Sign in with SSO button and the Sign In with SSO screen will appears.
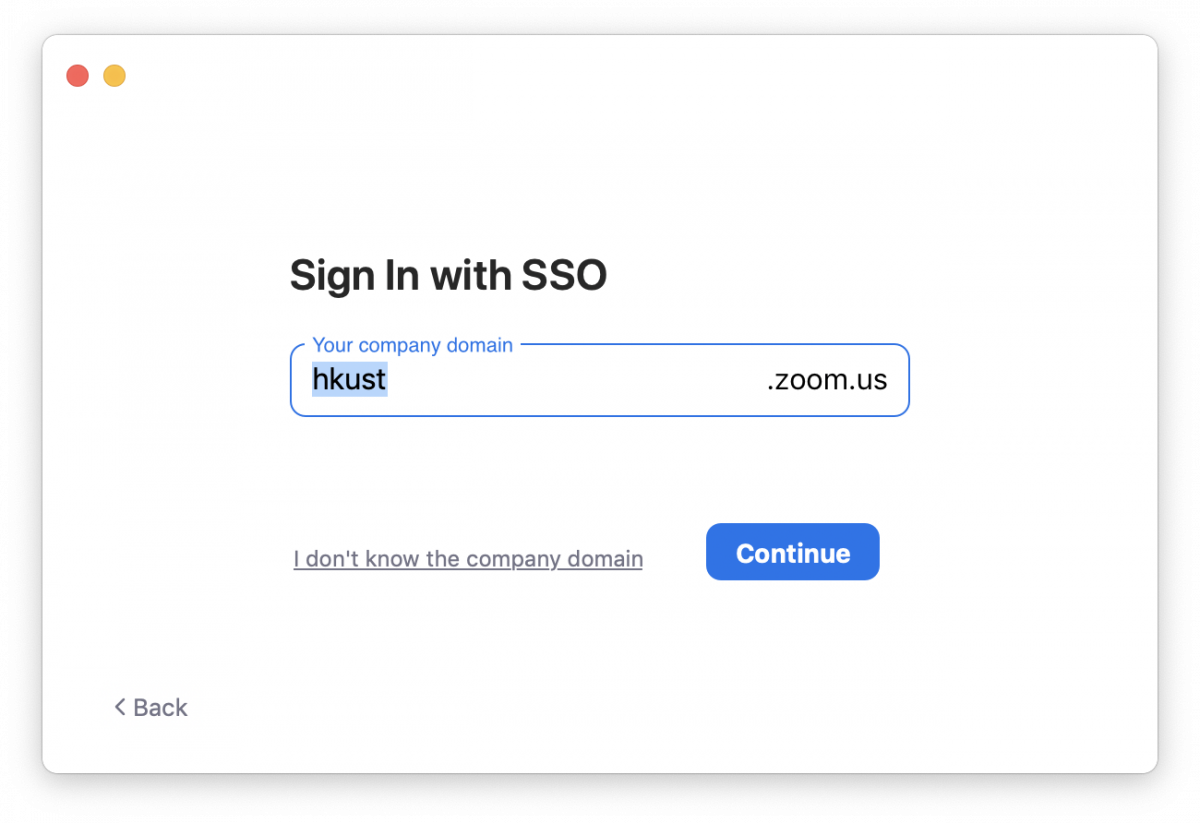
- Type in "hkust" in the Company Domain field and click continue.The system will bring up the browser and direct you to the HKUST Authentication Service webpage.
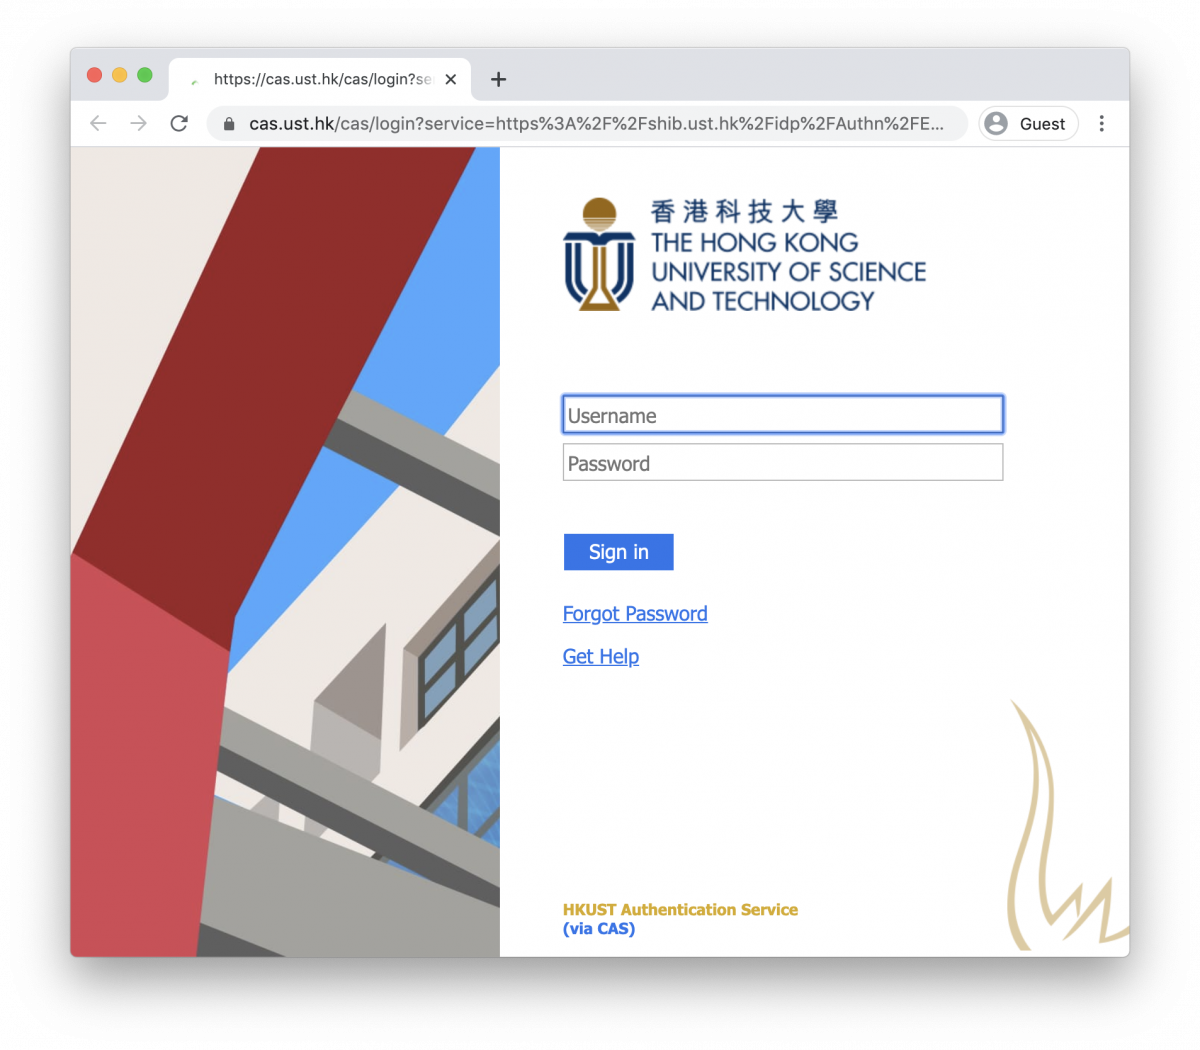
- Sign-In with your HKUST account and password. After successful sign in, you will be prompt to Launch Zoom.
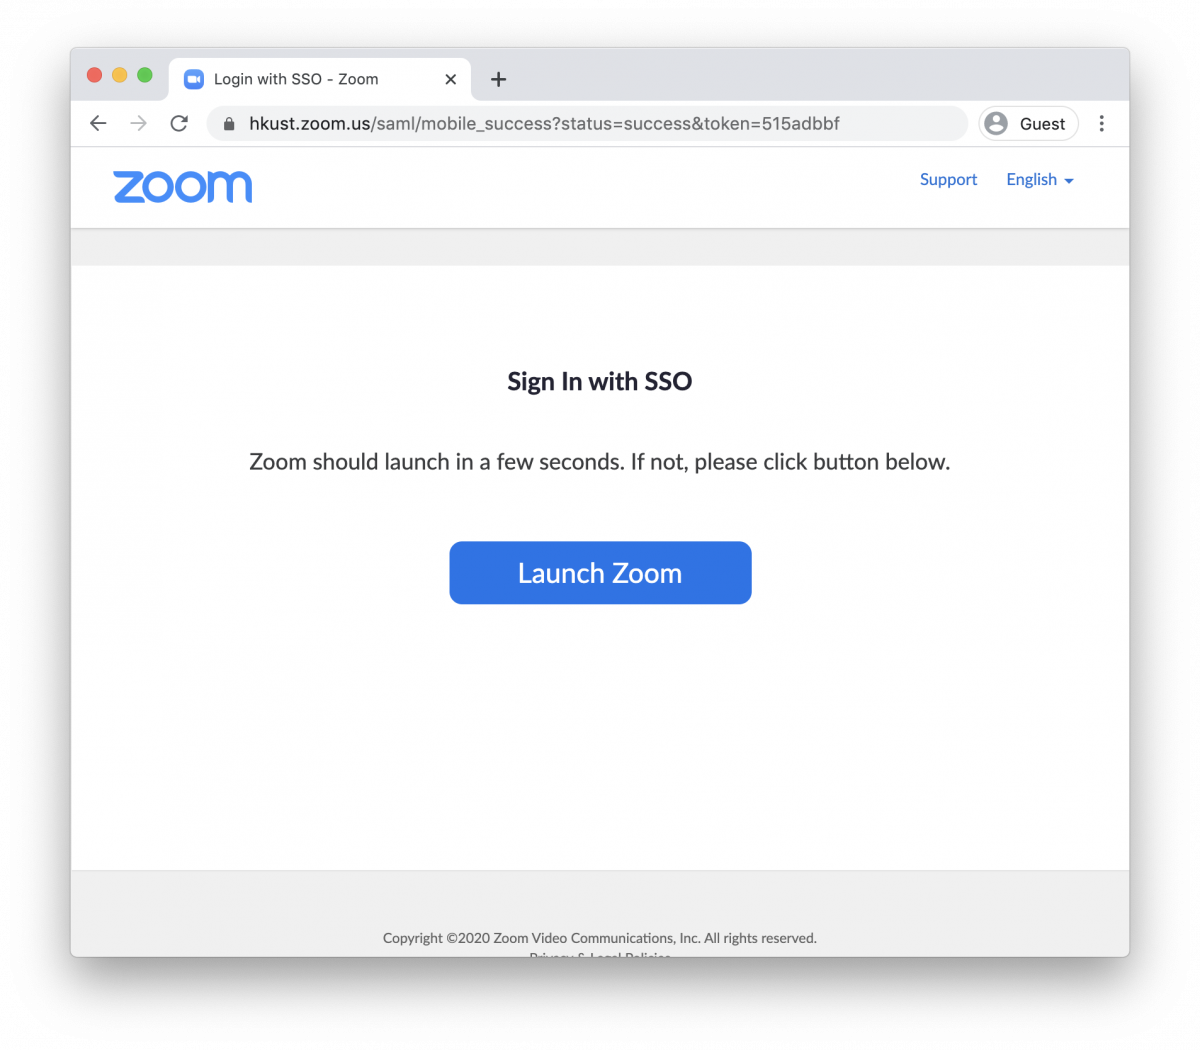
- Click Launch Zoom button. The Zoom client window will appears:
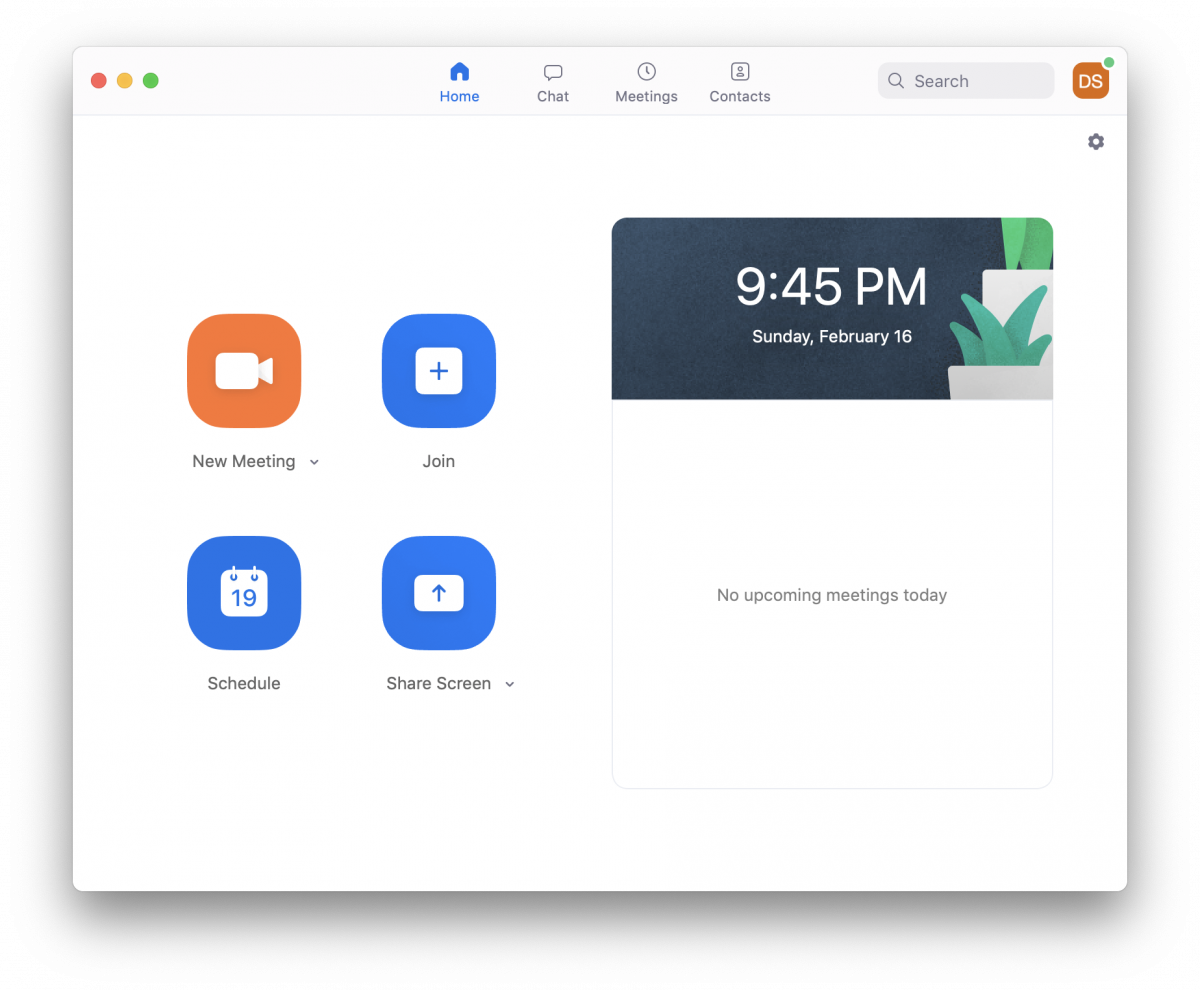
- You have now successfully sign in Zoom and ready to join Online Class.
- Locate and Start the Zoom software downloaded in previous step. Normally, it should be named zoom.pkg in your Downloads folder.